SA22-66-8V3
Aid reverse parking: The rear-facing camera shows a clear view of the area behind the S7 (often with distance guidelines on the screen) — helping you park accurately without hitting curbs, walls, or other cars.
Cover blind spots: Front or side-mounted versions reveal areas your mirrors miss (like pedestrians next to the car or small obstacles in tight spaces) — reducing the risk of collisions during low-speed maneuvers.
Work in all conditions: Weatherproof design and night vision let it function in rain, fog, or darkness — ensuring you have clear visuals no matter the environment.

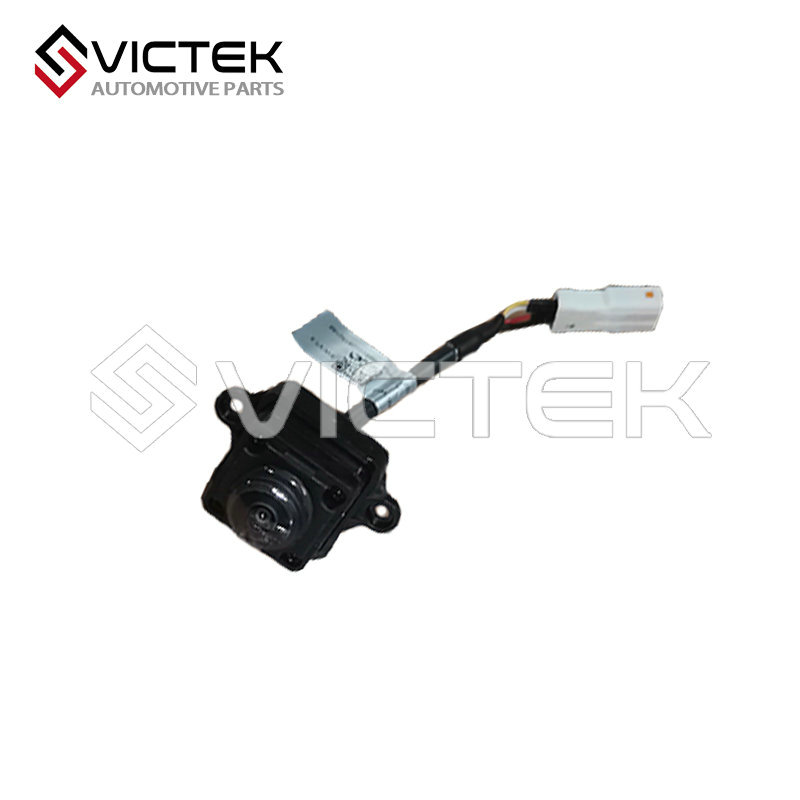
Fits These: All Haima S7 variants (matches the S7’s infotainment system, mounting points, and image requirements—confirm with VIN).
Won’t Fit These:
Other Haima models: Like S5, M6, or F7—different infotainment screens, body contours, or wiring setups (camera won’t connect or show proper views).
Non-Haima vehicles: Even if the shape looks similar, their electrical systems and screen resolutions differ (no functional use).
S7 with modified infotainment: Aftermarket touchscreens may not support the S7’s original camera signal (footage won’t display).
Prep: Turn off the S7’s engine and disconnect the battery (avoids electrical risks). Decide on the mounting spot (usually near the rear license plate or bumper).
Mount the camera: Drill a small hole (if needed) to fit the camera’s housing, then secure it with the included screws. Run the wiring harness from the camera through the car’s interior to the infotainment system (use wire clips to hide wires).
Connect to the system: Plug the camera’s wiring connector into the S7’s infotainment port (check the owner’s manual for the correct slot). Reconnect the battery.
Test: Turn on the S7, shift into reverse—check if the camera feed appears on the screen (adjust the angle if the view is off). Test night vision by turning off lights (footage should stay clear).
Clean the lens weekly: Wipe the glass lens with a soft, damp cloth to remove dirt, bug guts, or rain spots—dirty lenses distort the view (hard to judge distances).
Check wiring monthly: Ensure the wiring harness isn’t loose or damaged (especially near the door hinges or rear bumper)—loose wires cause the camera to cut out.
Test functionality regularly: Shift into reverse or activate the camera manually to confirm it works (catch issues early, like blurry footage).
Protect from harsh impacts: Avoid hitting the camera with large objects (like a bike or shopping cart)—damage to the housing or lens ruins the camera.


Contact us